Moving Graphics, Audio and Video Files on Your TriCaster
Note: this step is only required if you wish to use the TriCaster Playout Controller to playout graphics, audio clips, or video clips. If you're not using it for that, you can skip this step for now. You can always come back to it later.
The third and final step in the setup process is moving (or copying) graphics, audio clips, and video clips to the appropriate directories on your TriCaster so our TriCaster Playout Controller can play them out.
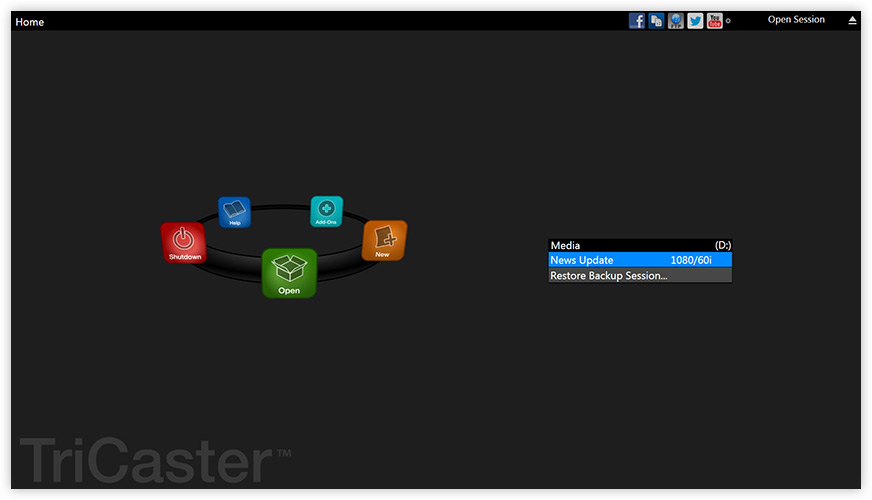
1. On your TriCaster, exit to Windows
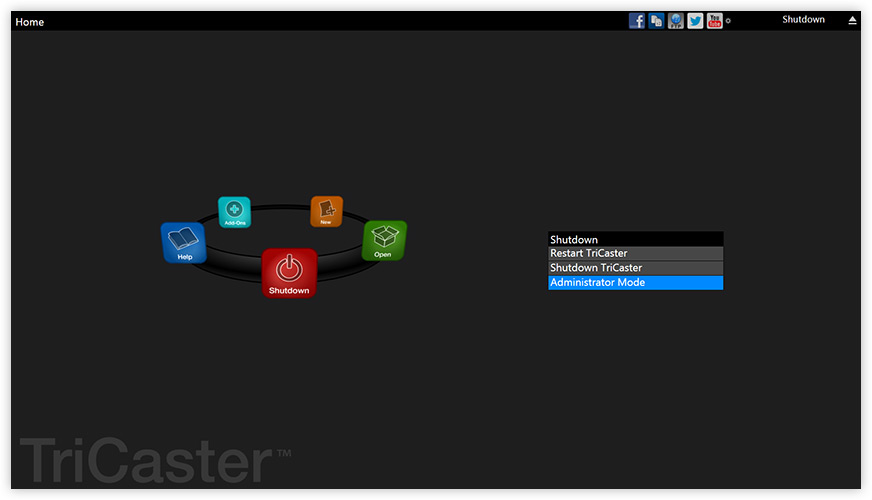
a. Click on the "Shutdown" icon

b. Click on the option for "Administrator Mode"

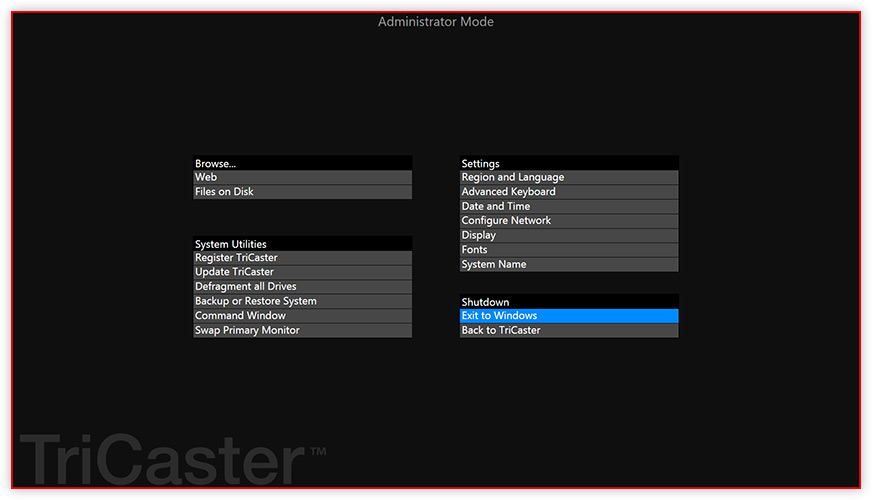
c. Select "Exit to Windows"

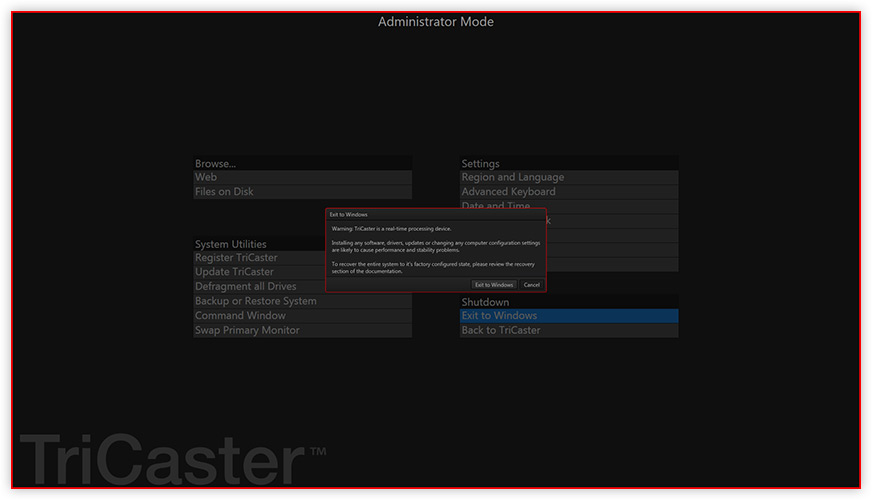
d. If a warning is displayed, click the "Exit to Windows" button


b. Click on the option for "Administrator Mode"

c. Select "Exit to Windows"

d. If a warning is displayed, click the "Exit to Windows" button

2. Move (or copy) graphics to your graphics directory (the directory where graphics files are stored on your TriCaster, which you specified when you installed the Playout Controller plug-in)
3. Move (or copy) audio clips to your audio directory (the directory where audio files are stored on your TriCaster, which you specified when you installed the Playout Controller plug-in)
4. Move (or copy) video clips to your video directory (the directory where video files are stored on your TriCaster, which you specified when you installed the Playout Controller plug-in)
Note: you can add, update, or delete graphics, audio clips, and video clips later simply by adding, updating, or deleting the files in the graphics, audio, or video directories on your TriCaster.
